Build a Sandblast Cabinet
Commercial sandblast cabinets are large, heavy, and expensive. We can easily build one from a lightweight plastic tote and some inexpensive items from a local big-box store. Having a sandblast cabinet will be very useful if you paint models, particularly cast zinc or brass. I built mine with an inexpensive airbrush-style media blast gun that I bought at Harbor Freight. While it came with a bottle of medium grit, I often used common baking soda for a less-aggressive action. This allowed me to remove bits of paint from crevices on plastic models without damaging the model.
Parts List
- Clear plastic tote, 16-20 gallon capacity. Find a model that has a locking cover with a large flat area that you can replace with a piece of clear Plexiglass.
- A piece of Plexiglass to fit the cover and provide a view port.
- Two 4-inch toilet flanges with rotating cuffs. Your hands pass through these into the gloves, and these allow the gloves (and your hands) to rotate fully inside the cabinet.
- Two pieces of 4" PVC, about 4-5" long. These slip into the toilet flanges and the gloves slip over these.
- A flexible conduit coupling to allow the air hose through the side of the tote.
- Assorted machine screws and nuts - half-inch for securing the Plexiglass view port and 3/4 inch for securing the flanges.
- Heavy Duty rubber gloves - these should be able to stretch over the 4" diameter PVC pipe! TEST FIT before purchasing these.
- A Fernco 4" rubber coupling or two 4" hose clamps (the coupling with clamps was less expensive than two single clamps, so check prices!)
You'll also need some basic tools - a drill, 3/16" drill bit, a 1/2" Forstner bit (or spade bit if you drill slowly), a jig saw with a fine-tooth blade, and a screwdriver.
Getting Started
Lay out your pieces prior to making any cuts or drilling any holes. The tote sits normally upright, with your hands entering two holes on the long side, you look down through the clear view port on the lid, and the air hose should enter through the bottom of one of the short sides. Right side if you are right-handed, left side if you are left-handed. You may need to trim your Plexiglass panel to fit on the flat area of the lid.
Start by marking the cuts you need. Trace the outline of the plexiglass on the lid with a pencil, then use a marker to draw a line about 1/2" inside that area. The Plexiglass should overlap the cutout so you can drill holes and attach it to the cover. Next, turn the tote on its side and place the flanges just below the centerline of the side, and centered on the side about 15-inches apart. You will need to be able to "shake hands" inside the box so you can transfer the part and the gun from hand to hand, so place your hands in that position to make sure they are at a comfortable distance. Mark the outside of the 4-inch pipe for both flanges - see Fig.1 and Fig. 2.
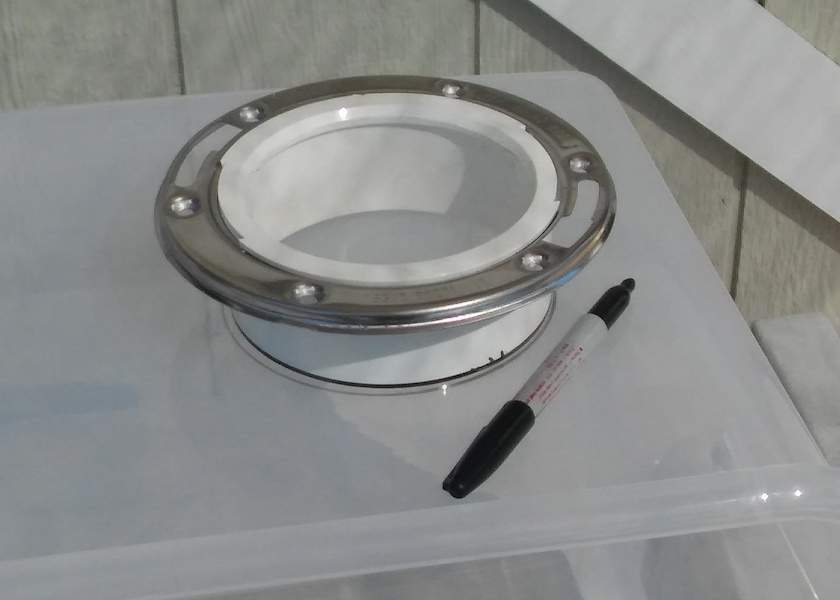 Figure 1 - marking the flange position
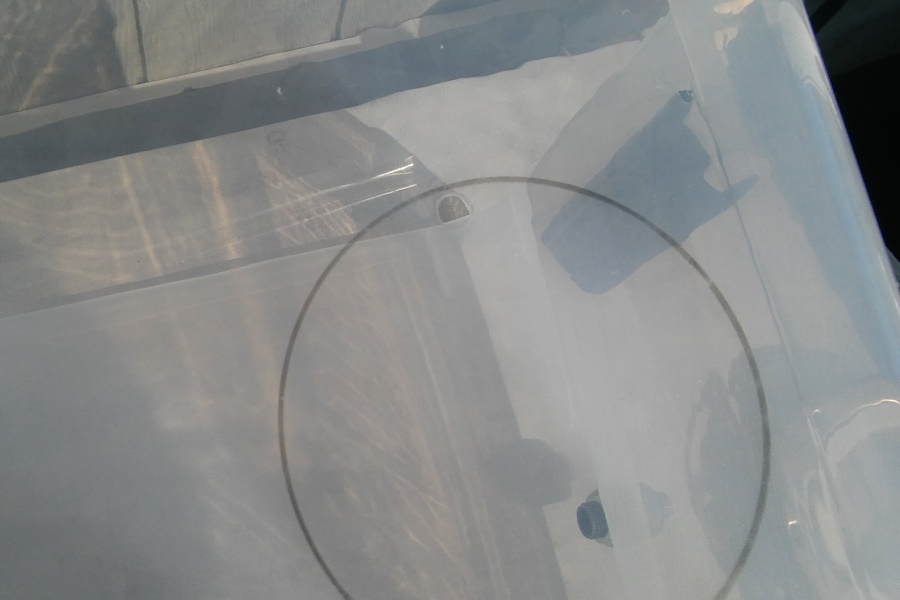 Figure 2 - ready to cut
Drill a small hole inside your marked areas on the lid and side of the tote using the 1/2" Forstner bit.
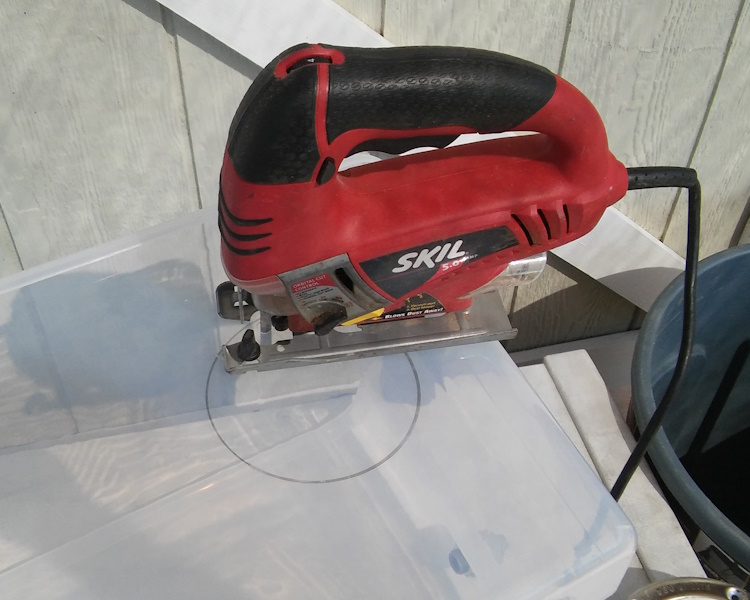 Figure 3 - Cutting the holes
Decide where your air hose inlet will be and drill that as well. Ideally it will be on the bottom rear edge of the side wall. Insert the jigsaw blade into the hole and work your way
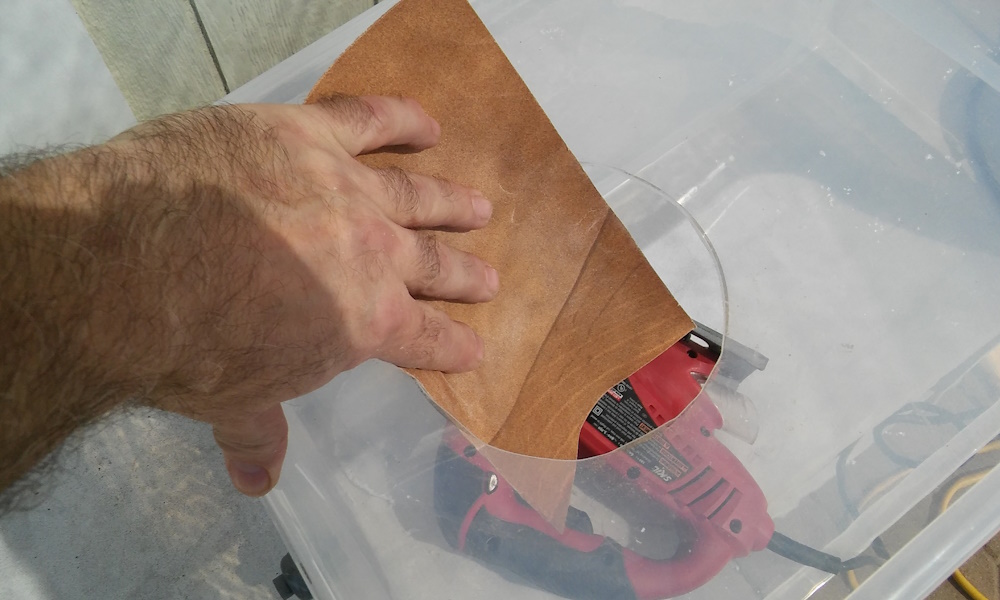 Figure 4 - Sanding the cuts
to and then around the marked areas for the view port in the lid and the two flanges in the side.
Once the holes are cut, clean the edges with some sandpaper or a medium file. The jig saw leaves a fairly rough edge and this will prevent the plastic shavings from falling into the cabinet and making it difficult to recycle your blast medium.
Once you have cleaned up the openings, you should test fit your flanges. You may need to sand or file the openings to have a good fit. If the fit is too tight, the plastic tote can crack from the stress.
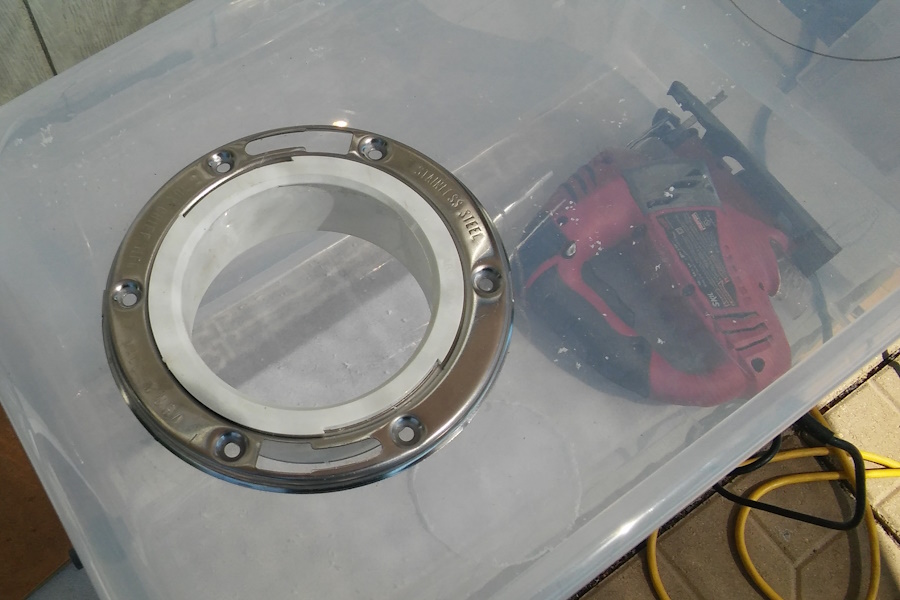 Figure 5 - test fit the flange.
Once you have a good fit of both flanges, line up one of the holes and drill a 3/16" hole into the tote. Use a 3/4" long #10-32 machine screw to secure the flange before drilling the next hole. Drill and secure the opposite side from the first screw before drilling and securing the last 4. This prevents the flange from moving between drilling the holes - once you have two, it can't move and the four others can be drilled and secured. Repeat this for the second flange.
To attach the Plexiglass window to the tote cover, mark the Plexiglass with drill points every 4 inches or so, 1/4 inch from the outer edge. Pre-drill the holes in the Plexiglass using a scrap backer board to prevent unnecessary stress that could crack the sheet. Along the long edge, you should place a screw about 1/2" from each side, and then equally spaced between those two points. Match the positions on the opposite side, and - if your view port is large enough - add additional screw holes on the short sides.
Place the Plexiglass squarely over the top cutout and mark two points in opposite corners of the cover. Drill those points and secure the Plexiglass to the cover with two 1/2" #6-32 machine screws. DO NOT OVERTIGHTEN THESE SCREWS as you could crack the Plexiglass. Once secure, drill the remaining holes in the cover and secure with additional screws.
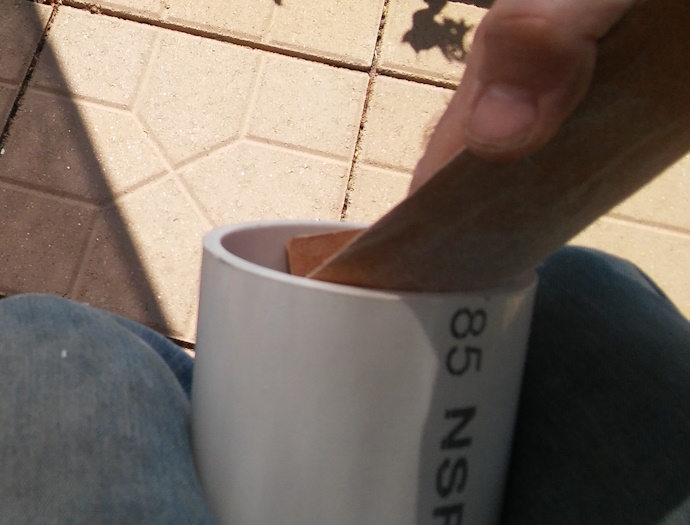 Figure 6 - Sanding the tube
Locate the two pieces of 4" PVC and sand one edge of each until smooth. The gloves will need to fit over this end and a smooth edge will prevent tearing. Your hands may also come in contact with this edge. Once the edge is smooth, place the other end into the flange and tap gently into place. This will remain a friction fit.
Carefully stretch the glove over the tube. You may find it easier to remove the tube from the flange, place the rough side down on a hard surface and press the glove over the smooth end. The glove should overlap at least 1/2 to 3/4 inch. Place a 4" hose clamp over the glove to secure it in place on the tube. Reinstall the tubes into the flanges and give it a test fit. You should be able to work your hands into the gloves, rotate the glove so that your palm can face straight up and straight down within the cabinet for a good range of motion.
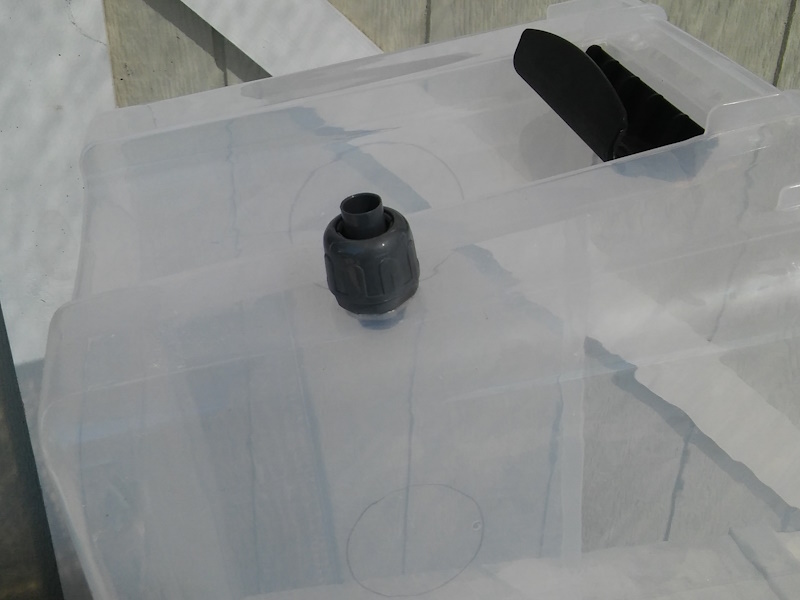 Figure 7 - the hose port
Insert the flexible conduit coupling into the hole you drilled earlier and tighten until snug. Pass the air hose for the blast gun through this connector. Do not use sealant on this port as a small amount of air needs to vent out of the cabinet. Pull enough hose into the cabinet so the blast gun can reach all areas of the cabinet. You can then use a nylon cable tie or a few wraps of tape on the hose to prevent it from passing back out through this port. You want enough hose to remain inside the cabinet to avoid any stress or pulling while you are working.
Fini!
Here are photos of the finished cabinet showing the front and the inside from the top.
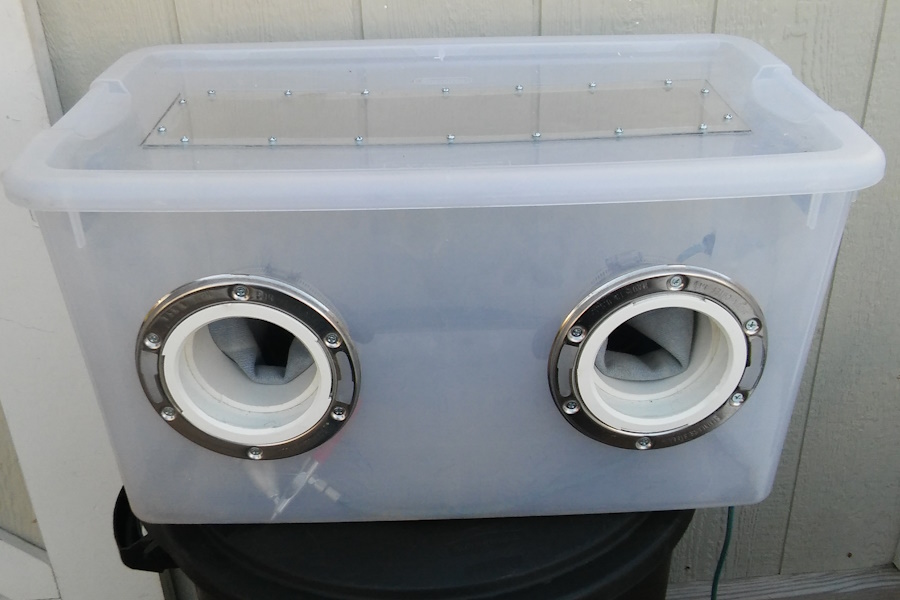 Figure 8 - cabinet front
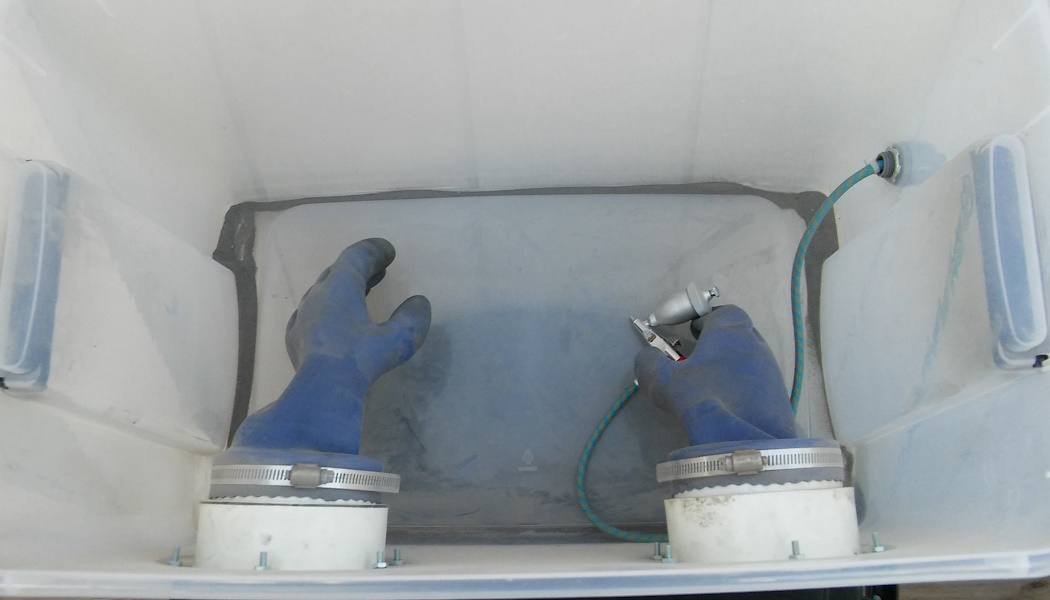 Figure 9 - cabinet inside - cover open
Figure 9 shows the pumice grit collecting in the edges. You can see how you can hold the model with one hand and operate the blast gun with the other. Be sure to recover your grit and clean the inside before switching mediums. Baking soda works great for a fine finish and gentle abrasive and is both cheap and readily available.